How To Make Your Own Drumsticks?
As a drummer, your choice of drumsticks can make a huge difference in your playing experience. While many drummers simply purchase their drumsticks, there’s something incredibly rewarding about crafting your own pair. Not only does it give you a deeper connection to your instrument, but it also allows you to create sticks that match your unique playing style and preferences. In this guide, we’ll walk you through the steps of making your own drumsticks, from selecting the right wood to shaping and finishing the perfect pair.
Choosing the Right Wood
The first and most important step in creating your drumsticks is selecting the right type of wood. The choice of wood affects the weight, durability, and sound of the sticks. Some popular woods for drumsticks include:
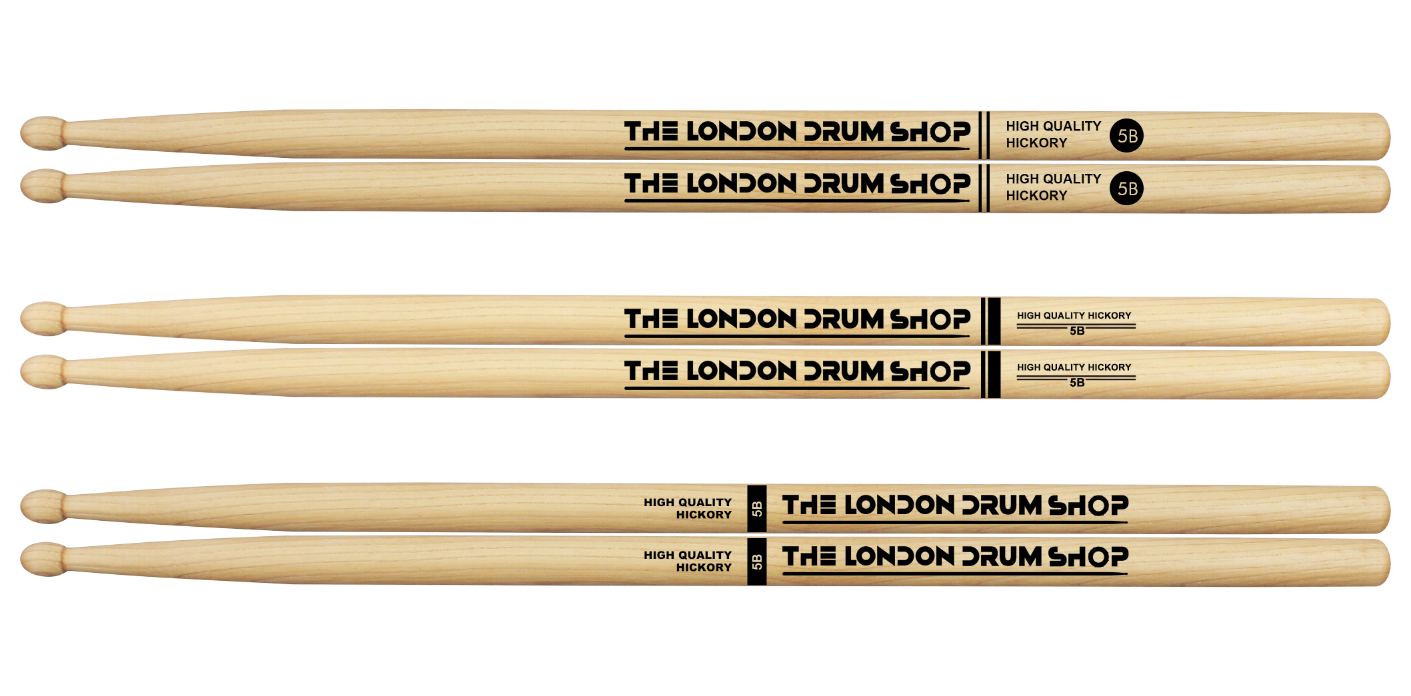
- Hickory: Known for its durability, hickory is a popular choice due to its balance between strength and weight. It offers a great combination of resilience and a good amount of shock absorption.
- Maple: Lighter than hickory, maple sticks provide a quicker rebound, making them a good choice for fast playing. They also offer a smooth playing experience but may not be as durable as hickory.
- Oak: Oak is extremely dense and durable, making it ideal for drummers who hit hard. However, it is also heavier, which might not suit those who prefer a lighter feel.
While these are the most common choices, other woods such as birch or ash can also be considered, depending on the sound and feel you want from your drumsticks.
Gathering Your Tools and Materials
Once you’ve chosen the wood, gather all the necessary tools and materials. You’ll need:
- Wooden dowels or rods (usually between 1-2 inches in diameter, depending on the size of the sticks you want to make)
- A saw (to cut the dowels to your desired length)
- A lathe (for shaping the drumsticks)
- A sanding tool (such as a sander or sandpaper, to smooth out rough edges)
- Drill (for making the hole for the grip, if desired)
- Varnish or lacquer (for finishing your drumsticks)
- Tape measure and pencil (for measuring and marking your cuts)
It’s important to have these tools on hand before starting the process. If you don’t own some of these tools, consider visiting a local woodshop or working with someone who has access to them.
Cutting the Wood to Size
The standard length for drumsticks is typically around 16 inches, but this can vary depending on your personal preference. To begin, cut your wooden dowels to the desired length using a saw. Ensure that the cuts are clean and straight, as this will make shaping easier down the line.
Shaping the Drumsticks
Shaping is one of the most important steps when making your own drumsticks. Using a lathe, you can start to shape your dowels into the classic drumstick form. The basic shape of a drumstick includes:
- The tip: This part of the stick is used for striking the drums. The tip can be rounded or pointed depending on the sound you prefer.
- The shaft: The body of the drumstick, which should be uniform in thickness and length.
- The butt: The end of the stick, often wider and sometimes flat, to provide balance.
When shaping the stick, make sure to maintain symmetry for a balanced feel. If you’re new to using a lathe, take it slow and make small adjustments, as it’s easy to remove too much wood if you’re not careful.
If you prefer a specific shape—like a thicker shaft or a smaller tip—this is the time to experiment. The goal is to create a stick that feels comfortable in your hands and offers the right sound for your playing style.
Sanding and Smoothing
After the sticks have been shaped, it’s time to smooth them out. Use sandpaper or a sander to remove any rough spots and imperfections. Start with a coarse grit and gradually move to finer grits to achieve a smooth finish. Pay special attention to the grip area, as this is where your hands will be most often, and it’s important for the sticks to feel comfortable and not slippery.
Sanding also helps to refine the tip of the stick, ensuring there are no sharp edges that could interfere with your playing.
Adding a Grip (Optional)
While many drummers prefer a smooth surface on their sticks, some may want to add extra grip for better control. There are a few methods for adding a grip:
- Rubber or tape grip: You can wrap a small piece of rubber or grip tape around the bottom section of the stick for better control.
- Wooden grip: Some drummers prefer to carve grooves or patterns into the wood to add texture and prevent slippage.
- Drilled holes: For a custom grip, you could drill small holes into the area where your hands usually hold the stick. This technique can help reduce the weight of the stick and provide a more ergonomic feel.
The grip is a personal preference, so experiment with different methods to find what feels best for you.
Finishing Your Drumsticks
Once your sticks are shaped, sanded, and fitted with a grip, it’s time to finish them with a protective coating. Applying varnish, lacquer, or wood oil will protect the wood from moisture, dirt, and wear and tear, while also giving your sticks a polished look. Be sure to apply the finish evenly and allow it to dry fully before using your drumsticks.
If you prefer an eco-friendly option, you can use natural oils like tung oil or linseed oil for a more sustainable finish.
Testing and Adjusting
After the varnish has dried, it’s time to test your drumsticks. Take them for a spin and see how they feel during a practice session. Pay attention to the weight, balance, and rebound. If they feel too heavy, too light, or uncomfortable, don’t be afraid to make adjustments. You can always go back to your lathe and sandpaper to refine the shape further.
Testing your sticks on different drum surfaces (snare, bass, toms) will give you a sense of how the sticks perform. Some drummers prefer a stick that’s harder and gives a stronger attack, while others prefer a softer feel that absorbs shock better.
Maintenance of Your Drumsticks
Once your custom drumsticks are complete, it’s important to care for them to ensure they last as long as possible. Here are a few maintenance tips:
- Store your drumsticks properly: Keep them in a dry place away from direct sunlight or extreme humidity to prevent warping or cracking.
- Avoid hitting hard objects: While your custom sticks are designed to withstand a lot of force, they’ll last longer if you avoid hitting things like cymbals and rims too aggressively.
- Refinish when necessary: Over time, your drumsticks may begin to show signs of wear. You can easily sand them down and apply a fresh coat of varnish or oil to maintain their condition.
Conclusion
Making your own drumsticks can be a rewarding project that enhances your connection to your drum set and allows you to customize your tools to suit your style. While the process may seem complex at first, with patience and practice, you can craft a set of drumsticks that is truly unique to you.
By selecting the right wood, shaping the sticks to your specifications, and adding your personal touch, you’ll create a tool that not only performs well but also feels great in your hands. And the next time you sit down to play, you’ll appreciate the effort and care that went into making your very own pair of drumsticks.
Looking for high-quality drumsticks?
At EcoStix, we specialize in creating premium drumsticks made from sustainable materials that deliver the perfect balance of strength and comfort. Visit us at www.yourdrumsticks.com to learn more and browse our collection.