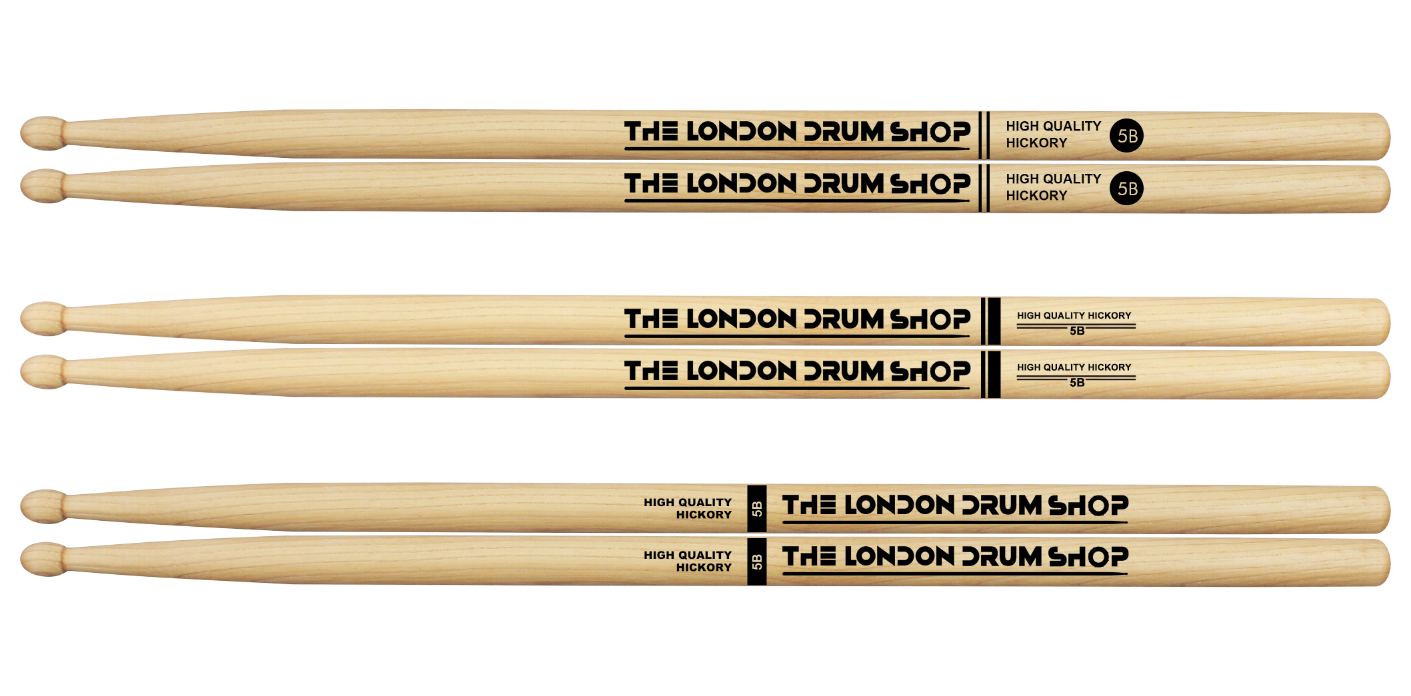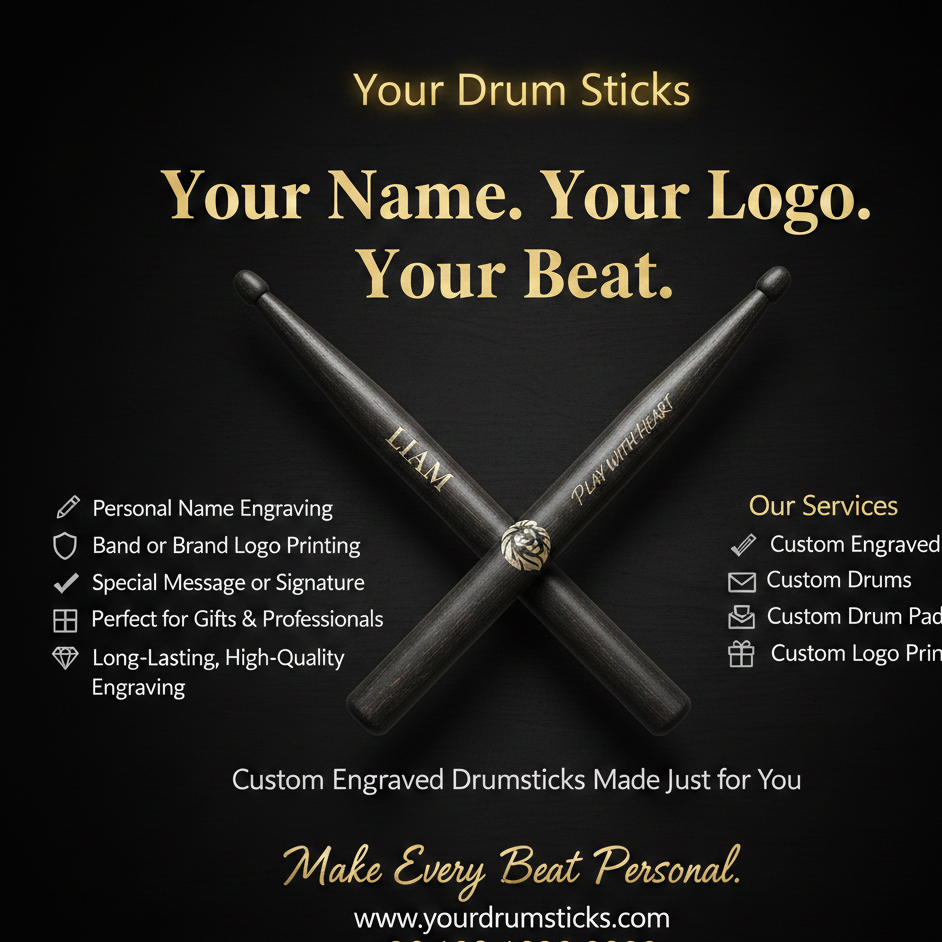
How To Engrave Drumsticks?
Drumsticks are essential tools for any drummer, and while they serve a functional purpose, they can also be a canvas for personal expression. Engraving drumsticks allows drummers to customize their sticks, adding their name, logo, a special design, or even inspirational quotes. If you’re looking to create one-of-a-kind drumsticks or simply add a personal touch, this guide will show you how to engrave drumsticks using a few easy techniques.
Why Engrave Drumsticks?
Engraving drumsticks can enhance your playing experience and serve multiple purposes:
- Personalization: Custom engraving allows you to showcase your personality or brand.
- Identification: Engraving your sticks can prevent mix-ups in rehearsals or live shows, especially in group settings.
- Gift Giving: Engraved drumsticks make for great gifts for fellow musicians or as merchandise for your brand.
- Decoration: A cool design can make your drumsticks look unique and stand out.
Whether you’re looking to engrave your name, a favorite quote, or your band logo, the process can be as creative as you want.
Tools You’ll Need
Before you get started, ensure you have the proper tools for engraving. Some options require specific equipment, while others can be done with basic tools. Here’s what you’ll need:
- Laser Engraver: This is the most precise and professional option for engraving. A laser engraver burns the design into the surface of the drumstick, ensuring sharp and clear details.
- Rotary Tool (Dremel): A versatile tool that can carve or engrave designs into the surface. It’s more affordable than a laser engraver and allows for a more hands-on approach.
- Engraving Pen: For smaller and simpler designs, an engraving pen can be used. It’s an easy, budget-friendly option for personalizing your drumsticks.
- Stencil or Template: If you’re using a manual method like a Dremel or engraving pen, you may want to create a stencil for your design to ensure accuracy and uniformity.
- Sandpaper: You may need sandpaper to smooth out rough areas of the stick before or after engraving.
Step-by-Step Guide to Engraving Drumsticks
Step 1: Prepare Your Drumsticks
Start by selecting a pair of drumsticks that you want to engrave. Make sure they are clean and dry, with no dirt or debris on the surface. If your sticks are rough or have an uneven texture, gently sand them to create a smoother surface for engraving. This will help the engraving stand out more clearly and prevent damage to your tools.
Step 2: Design Your Artwork
Decide what you want to engrave. This could be anything from your name, a logo, a favorite phrase, or a unique design. If you’re unsure of the design, you can draw it by hand or use design software like Adobe Illustrator or Canva to create a digital version.
If you’re using a stencil, print the design on paper, and cut it out neatly. Ensure the size of the design fits the drumstick without overwhelming the length of the stick.
Step 3: Transfer Your Design to the Drumstick
Once you have your design ready, transfer it to the drumstick. If you’re using a stencil, you can tape it securely onto the surface of the stick. For a digital design, you can print it out and trace it lightly onto the stick with a pencil. The key here is to ensure the design is clear and centered before you start engraving.
Step 4: Engraving with a Laser Engraver
Using a laser engraver is the easiest and most efficient method to achieve clean, precise results. If you have access to a laser engraver, follow these steps:
- Upload your design to the engraver software.
- Set the drumstick in the engraver’s clamp.
- Adjust the engraving settings (speed and power) based on the wood’s type and the intricacy of your design.
- Start the machine and watch the design burn into the drumstick.
The laser will automatically etch the design into the drumstick, providing a deep, detailed, and permanent engraving.
Step 5: Engraving with a Rotary Tool
If you’re using a rotary tool like a Dremel, follow these steps:
- Attach a fine engraving bit to the rotary tool.
- Turn on the rotary tool at a low speed to avoid mistakes or damaging the wood.
- Carefully trace your design on the drumstick. Take your time and don’t rush to ensure a steady hand.
- Gradually carve the design into the drumstick, following the outline and making small passes to deepen the engraving.
It’s important to keep a light hand when using the rotary tool, as too much pressure can cause uneven or deep grooves. Work slowly to maintain control over the design.
Step 6: Engraving with an Engraving Pen
For smaller designs, an engraving pen is a handy tool. The process is similar to using a Dremel:
- Select an engraving pen with a fine tip for better precision.
- Hold the pen like you would a regular writing instrument.
- Trace over your design slowly, ensuring the pen stays at a consistent depth throughout the engraving.
Engraving pens are best for simple designs or text, and the results may not be as sharp as laser engraving or rotary tools, but they’re a great budget-friendly option.
Step 7: Finishing Touches
After you’ve completed the engraving, take a moment to inspect the work. If needed, smooth out any rough or jagged edges with sandpaper, ensuring that the design is sharp and clear.
To enhance the engraving and make it stand out, you can apply a light coat of paint or stain to the engraved area. This will make the design pop and help highlight the engraved text or logo. Wipe away any excess paint and allow the drumsticks to dry completely before using them.
Alternative Engraving Methods
If you don’t have access to advanced engraving tools, there are alternative methods to customize your drumsticks:
- Wood Burning Tools: These tools can create a similar effect to a laser engraver, although the results may not be as refined. They are inexpensive and great for DIY engraving.
- Carving: If you prefer a hands-on approach, you can use carving tools to etch the design into the drumsticks manually. This method takes longer but offers complete control over the process.
Maintenance of Engraved Drumsticks
Once your drumsticks are engraved, it’s essential to care for them properly:
- Store them properly: Keep your engraved drumsticks in a dry place away from direct sunlight or moisture to prevent the wood from warping.
- Avoid excessive force: While engraving adds a personal touch, it may weaken the wood, so be mindful when using them.
Conclusion
Engraving your drumsticks is a fantastic way to make them your own, whether you’re creating a unique gift, adding branding, or simply personalizing your gear. With the right tools and patience, you can create a pair of drumsticks that reflect your individuality and style.
From laser engraving to rotary tools, the options for customization are vast. Whatever method you choose, engraving adds a personal touch that enhances your drumming experience and can make your sticks truly one-of-a-kind.
Looking to Customize Your Drumsticks?
At EcoStix, we offer high-quality, customizable drumsticks that can be engraved with your design, logo, or message. Whether you’re a drummer looking for a personalized touch or a business wanting to create custom drumsticks for branding, our team is ready to help! Visit EcoStix today to start personalizing your drumsticks, and let us bring your ideas to life.
Our experts will guide you through the process, ensuring your engraving is exactly what you envision. Reach out to the EcoStix team now and get started on creating your perfect pair of custom engraved drumsticks!